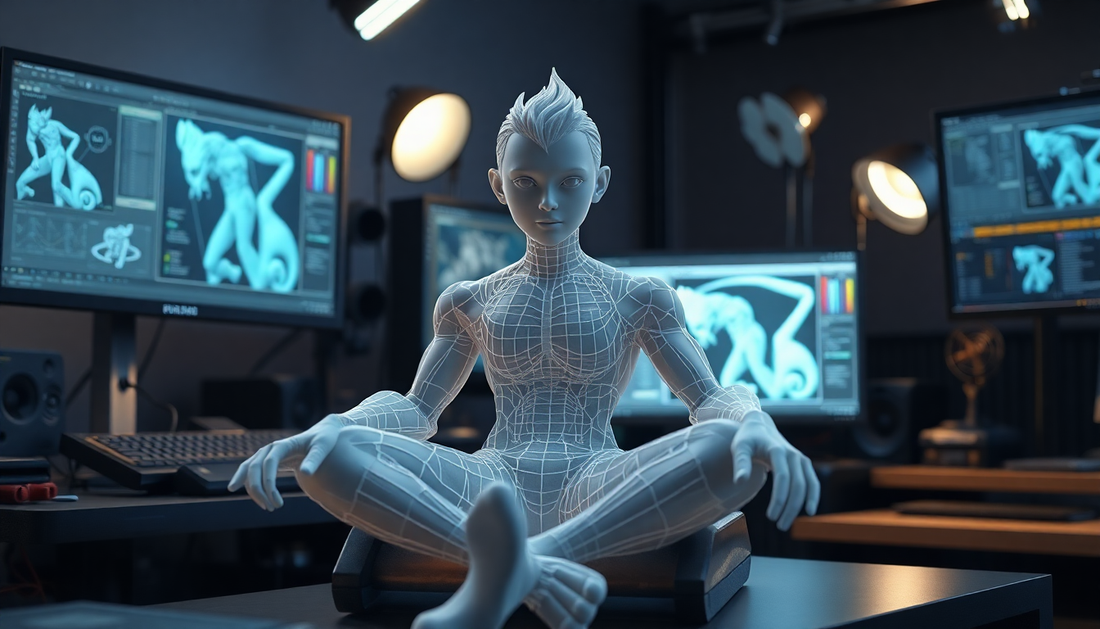
Beginner’s Guide to 3D Modeling – Create Your First Game Asset
Share
3D Modeling Basics: Creating Game-Ready Assets in Blender
Introduction: 3D modeling is a foundational skill for anyone looking to enter game development, AR/VR, or interactive design. In this guide, we’ll walk through the basics of creating a game-ready asset in Blender, from initial modeling to texturing and exporting for use in Unity. This beginner-friendly tutorial is perfect for aspiring game artists and developers looking to take their first steps in 3D content creation.
Step 1: Setting Up Your Blender Workspace
- Open Blender and create a new file.
- Familiarize yourself with the interface: 3D Viewport, Outliner, and Properties panel.
- Set the rendering engine to "Eevee" for faster previews.
- Adjust your workspace layout to include the Shader Editor and UV Editor for easy access.
Step 2: Basic Modeling Techniques
- Start with a simple cube object.
- Use mesh editing tools like Extrude (E), Inset (I), and Loop Cut (Ctrl+R) to shape the object into a basic crate or box.
- Focus on maintaining a low poly count to keep the model game-ready.
- Add basic details like edges, panels, and handles using extrusions and beveling.
Step 3: UV Unwrapping and Texturing
- Enter "Edit Mode" and select the entire object.
- Press U > Unwrap to open the UV Editor.
- Organize the UV layout to maximize texture space.
- Import a texture image (wood grain, metal, etc.) and apply it to the object.
- Use the Shader Editor to adjust material properties (Base Color, Roughness, Metallic).
Step 4: Adding Lighting and Rendering
- Add a point light and adjust its intensity and color.
- Apply a simple HDRI background for ambient lighting (optional).
- Set up the camera to frame the object at an appealing angle.
- Render a preview to assess the asset’s appearance.
Step 5: Exporting the Model for Unity
- Select the object and go to File > Export > FBX.
-
Adjust export settings:
- Apply Scale: 1.0
- Include Meshes and Materials
- Check "Selected Objects" only
- Save the FBX file to a designated "Assets" folder for Unity.
Practice Project:
- Create a low-poly wooden crate with a simple handle and metal edges.
- Apply a wood texture and basic metallic shader.
- Export to Unity and import as a game object.
Conclusion: Congratulations! You’ve successfully created your first game-ready asset in Blender and prepared it for use in Unity. With these foundational skills, you’re ready to explore more complex assets and expand your 3D modeling expertise. Stay tuned for more advanced tutorials on creating characters, props, and environments.
